How to Tarp a Roof After a Storm: A Step-by-Step Guide
Learning how to tarp a roof after a storm typically costs between $300 and $800 for professional installation, though DIY methods require only $50 to $150 in materials to prevent immediate interior water intrusion. This process is essential for homeowners across the Gulf Coast to mitigate secondary issues like mold and structural decay following a storm or hurricane. Taking these steps helps protect your home and provides peace of mind during the chaotic aftermath of severe weather. A quick response is vital to prevent minor issues from escalating into costly repairs.
Key Takeaways
- Always prioritize personal safety by avoiding roof access during high winds or if the roof structure appears unstable.
- Use a heavy-duty, UV-resistant tarp to ensure the material survives the intense Florida sun while waiting for permanent repairs.
- Document all damage to your roof with photos before and after the tarping process to support your insurance claim.
- Avoid driving unnecessary fasteners into the roof deck, as this can create new entry points for moisture.
- Consult with a licensed roofer if the damage is extensive or if you are uncomfortable working at heights.
What Kind of Tarp Should You Use for Roof Leaks After a Storm?
Selecting a high-quality, heavy-duty polyethylene tarp with a minimum thickness of 6 to 10 mils is the most critical factor for long-term protection. The quality of the tarp is paramount; thin, lightweight tarps often shred within days under the harsh UV rays common in Southwest Florida. Ensure the product is labeled as “UV-resistant” and durable to prevent the material from becoming brittle and failing during a subsequent hail event or windstorm. This is a cost-effective solution for temporary stabilization.
What Materials and Tools Are Needed to Protect Your Roof
?
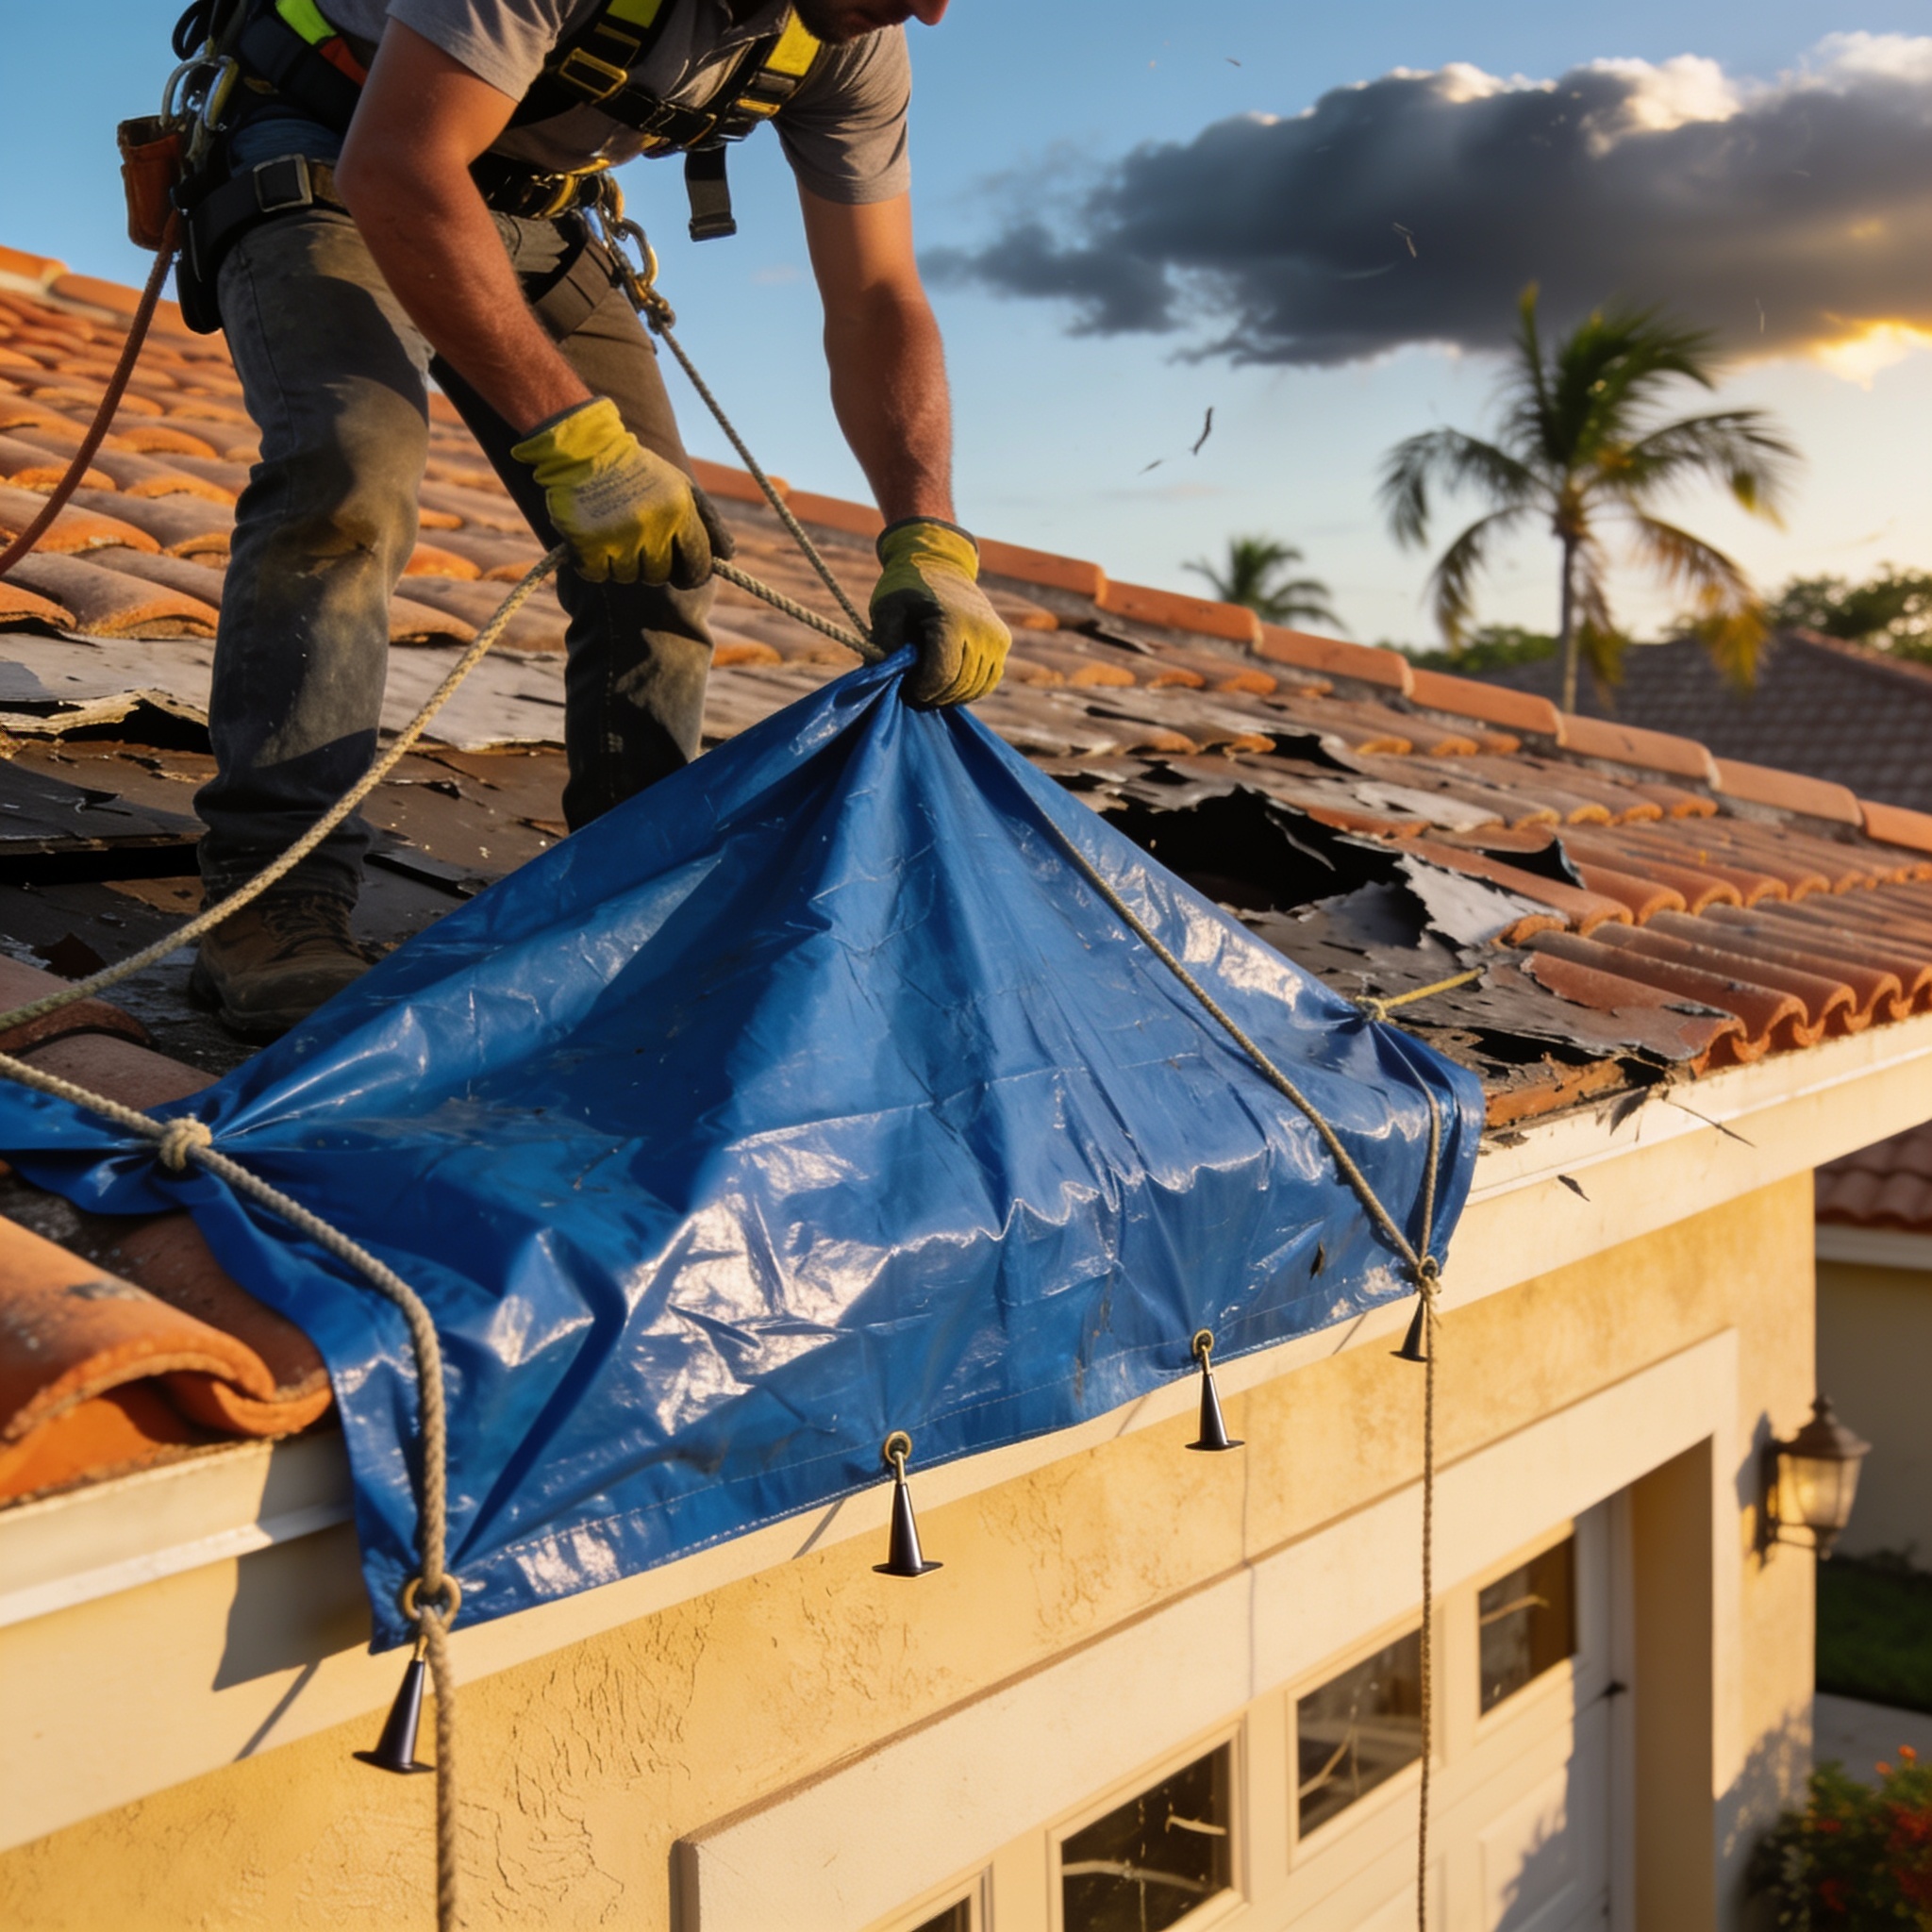
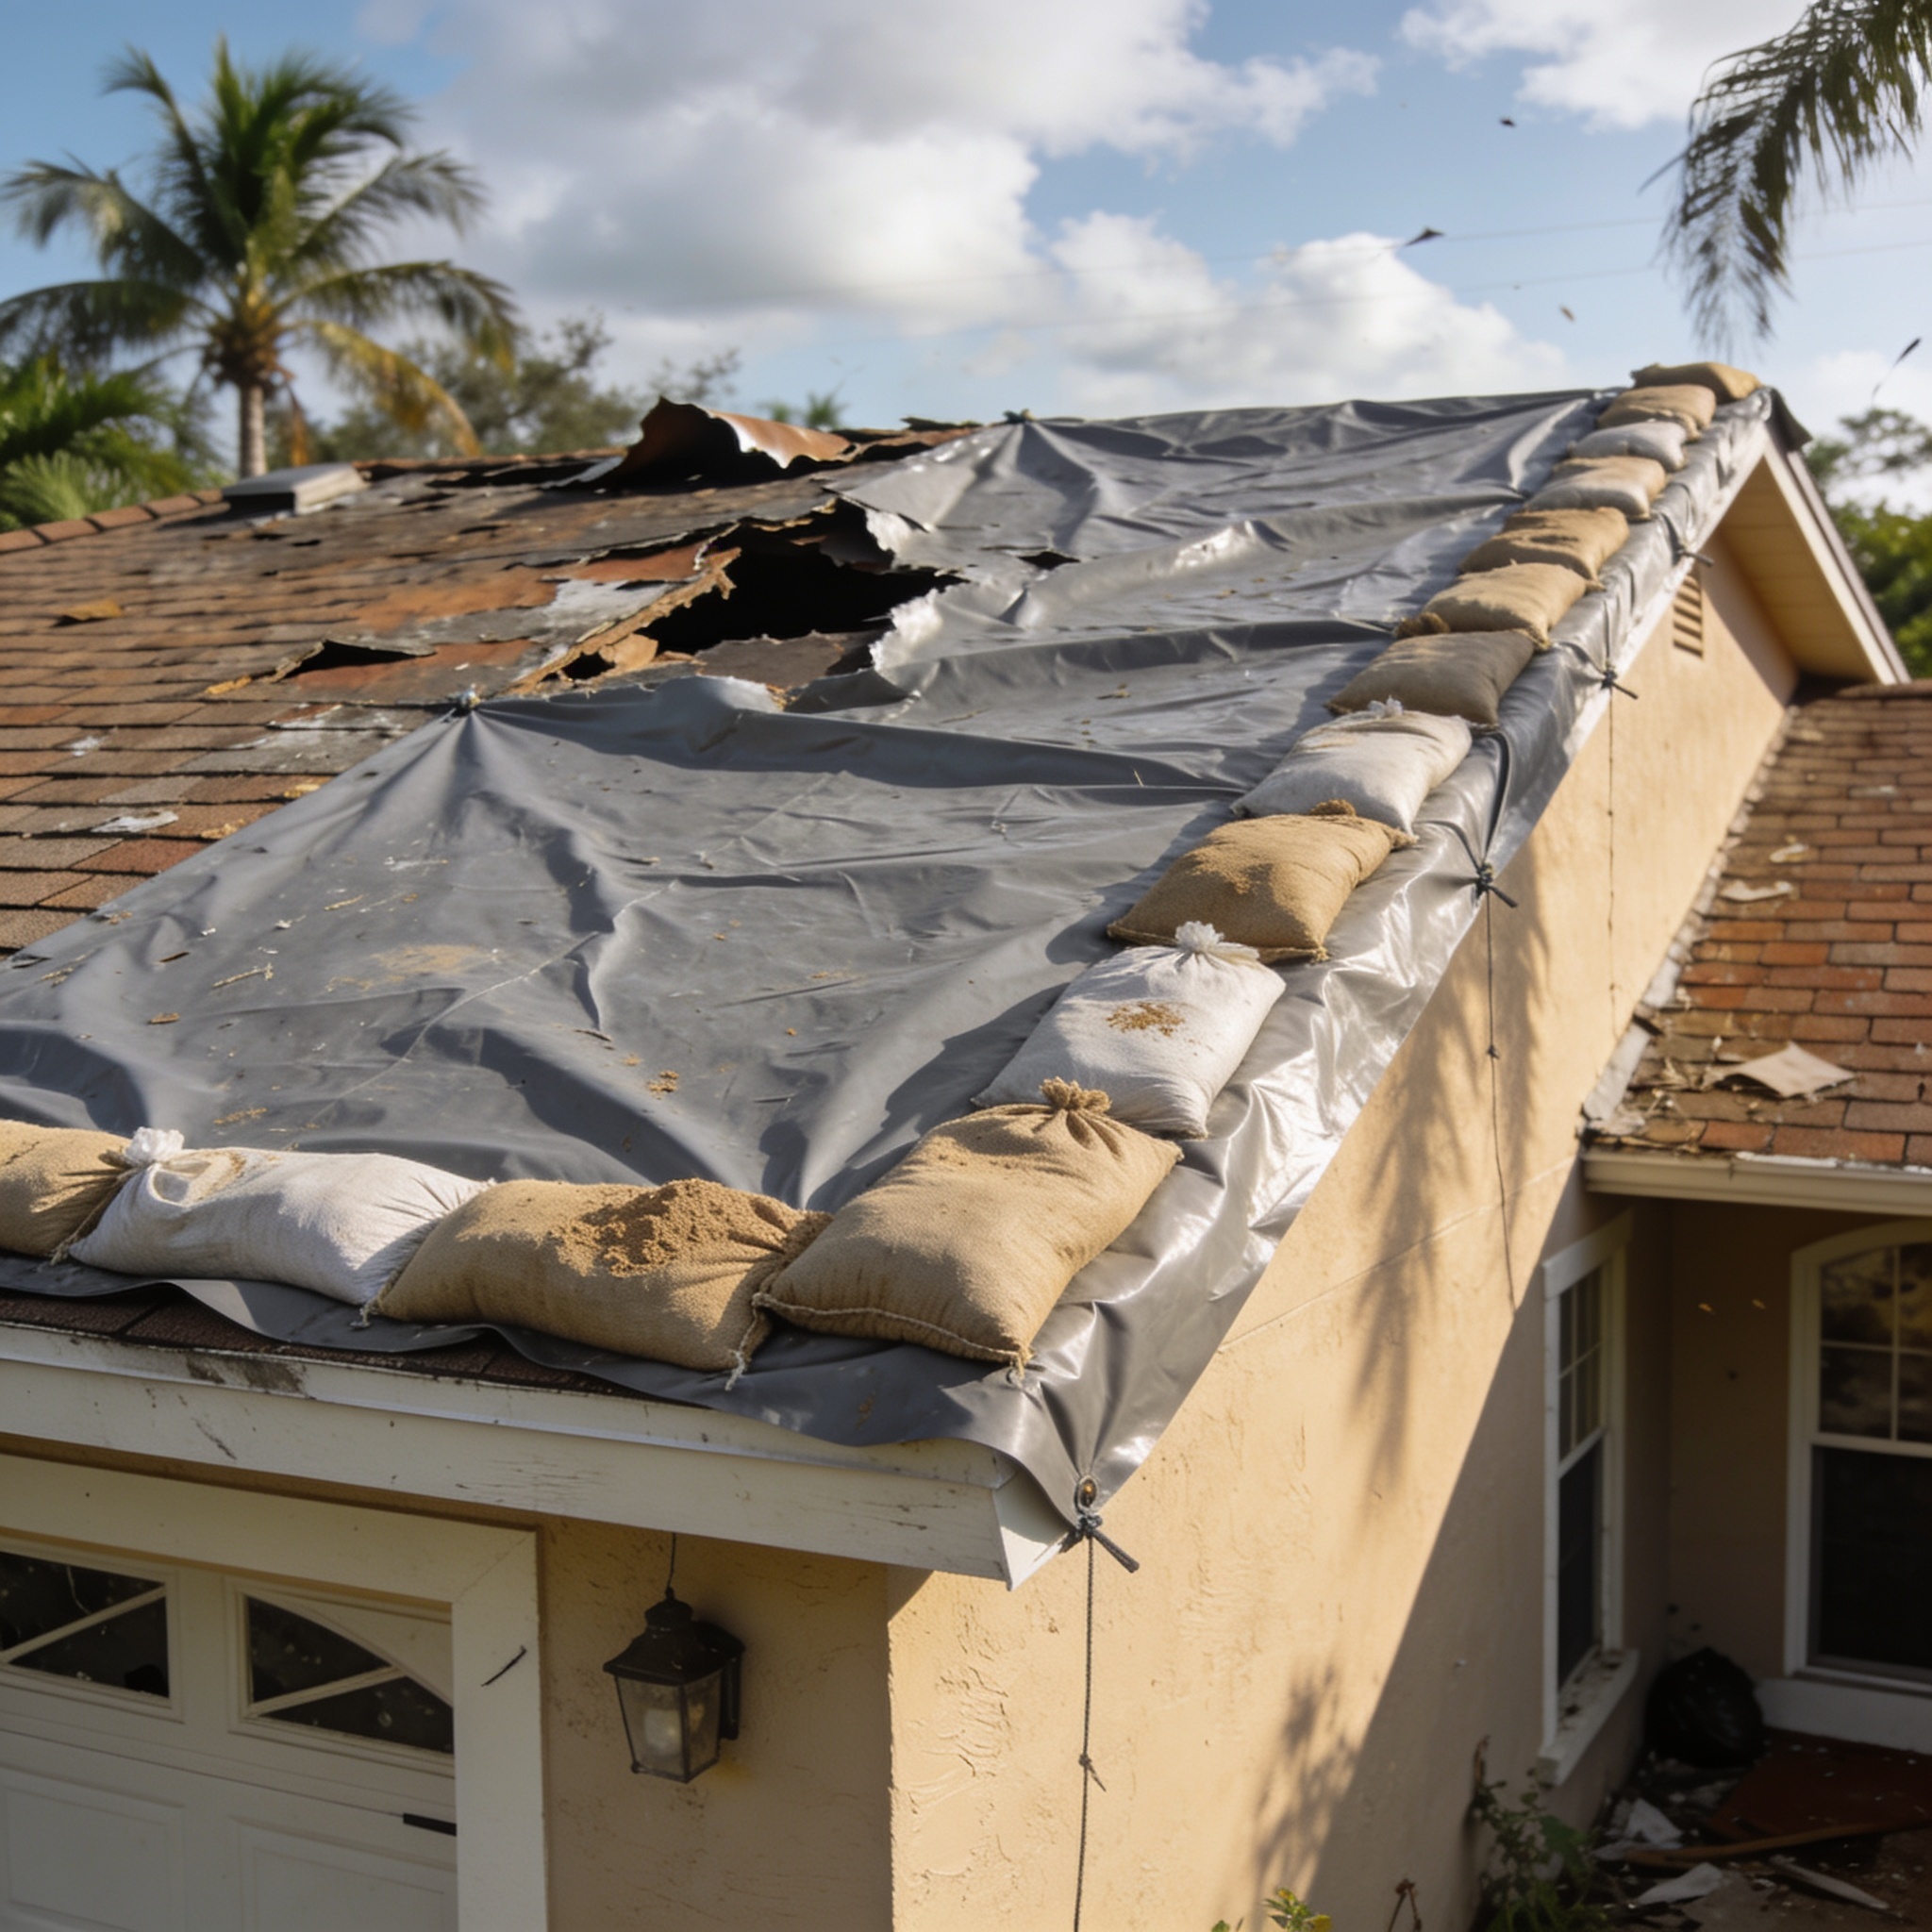
Gathering the correct supplies before you climb ensures you can complete the job quickly and minimize your time on the damaged roof. You will need a heavy-duty tarp, boards and nails (or exterior-grade screws) for anchoring, and a utility knife. Having a ladder, safety harness, and gloves is mandatory to prevent water intrusion and protect yourself from storm damage hazards. If you cannot reach the roof, a sandbag can sometimes be used to hold edges down temporarily.
What Is the 5-Step Emergency Checklist to Install
a Tarp?
Following a structured approach is the safest way to manage emergency repairs on your property.
- Inspect the roof: Safely assess the extent of the damage from the ground or a ladder to identify the specific area needing coverage.
- Clear loose debris: Remove any branches, shingle fragments, or gutter clog debris that could puncture the tarp or prevent a flat seal.
- Measure the area: Determine the dimensions of the damaged area and add at least four feet of overlap on all sides to ensure proper coverage.
- Position the tarp: Carefully unfold and drape the tarp over the ridge of the roof, ensuring it is covered by a tarp that extends well past the damaged section.
- Secure the edges: Use boards to secure a tarp and fasten the edges to keep the material taut against wind uplift.
How Do You Repair Your Roof
and Attach the Tarp?
Using wooden lath strips or 2×4 boards to sandwich the tarp against the roof deck is the best way to secure the tarp without using excessive nails. This method distributes the pressure evenly and prevents the tarp from ripping at the grommets. Always screw the boards into the rafters or solid decking to ensure you effectively attach the tarp to your roof and keep it in place during high winds. Proper anchoring is essential to mitigate further roof damage.
How Do You Tarp a Roof Around Obstacles Like Chimneys or Vents?
Wrapping the tarp around obstacles requires careful cutting and high-quality roofing sealant to maintain a watertight barrier. You must cut the tarp to fit snugly around the vent or chimney, then apply a generous bead of exterior-grade adhesive or flashing tape to seal the gap. This prevents water from running underneath the tarped section and causing further Water Damage Restoration to your home’s interior.
Does Tarping a Damaged Roof
Cause Further Problems?
Improperly installed tarps can trap moisture against the roof deck or cause additional damage if the fasteners are not sealed correctly. If the tarp is not pulled tight, water can pool in low spots, leading to sagging or rot in the underlying plywood. Regularly check that the tarp remains taut to avoid creating a “water balloon” effect that could compromise your Water Damage Restoration efforts.
How Long Can a Tarp Stay on a Roof and How Long Will It Last?
Most temporary roof tarps are designed to last between 30 and 90 days depending on the intensity of the Florida weather. Exposure to extreme heat and tropical storms will degrade the material’s integrity over time. It is vital to treat tarping as a temporary fix rather than a permanent solution to repair the roof before further structural issues develop. Consider the initial installation quality as a major factor in how long the protection will hold.
What Are the Most Common Mistakes to Avoid When Tarping a Roof?
Failing to extend the tarp over the roof ridge is the most common mistake that leads to immediate water intrusion during heavy rain. Another frequent error is using too few fasteners, which allows the wind to get underneath the tarp and tear it away. Always ensure the edges of the tarp are securely fastened to prevent flapping.
| Mistake | Consequence |
|---|---|
| Insufficient Overlap | Water leaks under the tarp |
Using NailOnly | Tarp tears at the fastener |
| Ignoring Debris | Punctures in the tarp material |
| Delaying Repairs | Need for full repair or replacement |
When Should You Call a Professional for Repair
Instead of DIY?
You should hire a professional contractor if the roof pitch is too steep or if the structural damage is too severe to safely navigate. Professionals have the specialized equipment, such as safety harnesses and industrial-grade fasteners, to ensure the job is done correctly. Attempting to repair your roof when it is severely damaged can lead to life-threatening falls or further property destruction.
Will Insurance Cover the Cost of Emergency Roof Tarping?
Most homeowner insurance policies cover the cost of emergency mitigation, including roof tarping, to prevent further damage to the property. You must document the initial damage with clear photographs and keep all receipts for materials or professional labor. Contact your insurance adjuster immediately to confirm that your specific policy covers these emergency protective measures.
Frequently asked questions
These common inquiries address the practical concerns of homeowners dealing with roof emergencies in Southwest Florida.
Is it safe to go on my roof after a storm?
No, you should never go on a roof if it has sustained structural damage or if there are downed power lines nearby.
Can I use duct tape to hold the tarp down?
No, duct tape will fail quickly in the Florida heat and will not provide a secure, watertight seal.
What if I cannot find a professional immediately?
If professional help is unavailable, perform a basic, safe installation using 2×4 boards to keep the tarp as secure as possible until help arrives.
Does the tarp need to cover the entire roof?
No, you only need to cover the damaged area, provided you extend the tarp at least four feet beyond the perimeter of the leak.
Our editorial team verifies licensing and reviews for every restoration company in the directory and writes practical, Florida-specific guides to help homeowners act fast and protect their insurance claims after water, fire, mold or storm damage.