How to Flood Cut Drywall: A Professional Guide to Water Damage Restoration
You should perform a flood cut by removing exactly 12 to 24 inches of drywall above the highest visible waterline to effectively mitigate structural rot and prevent long-term mold growth. Understanding how to flood cut drywall is a critical skill for homeowners in Southwest Florida, where storm surges and heavy tropical rainfall often lead to significant water damage. This process ensures that trapped moisture behind your walls is eliminated, protecting the structural integrity of your home.
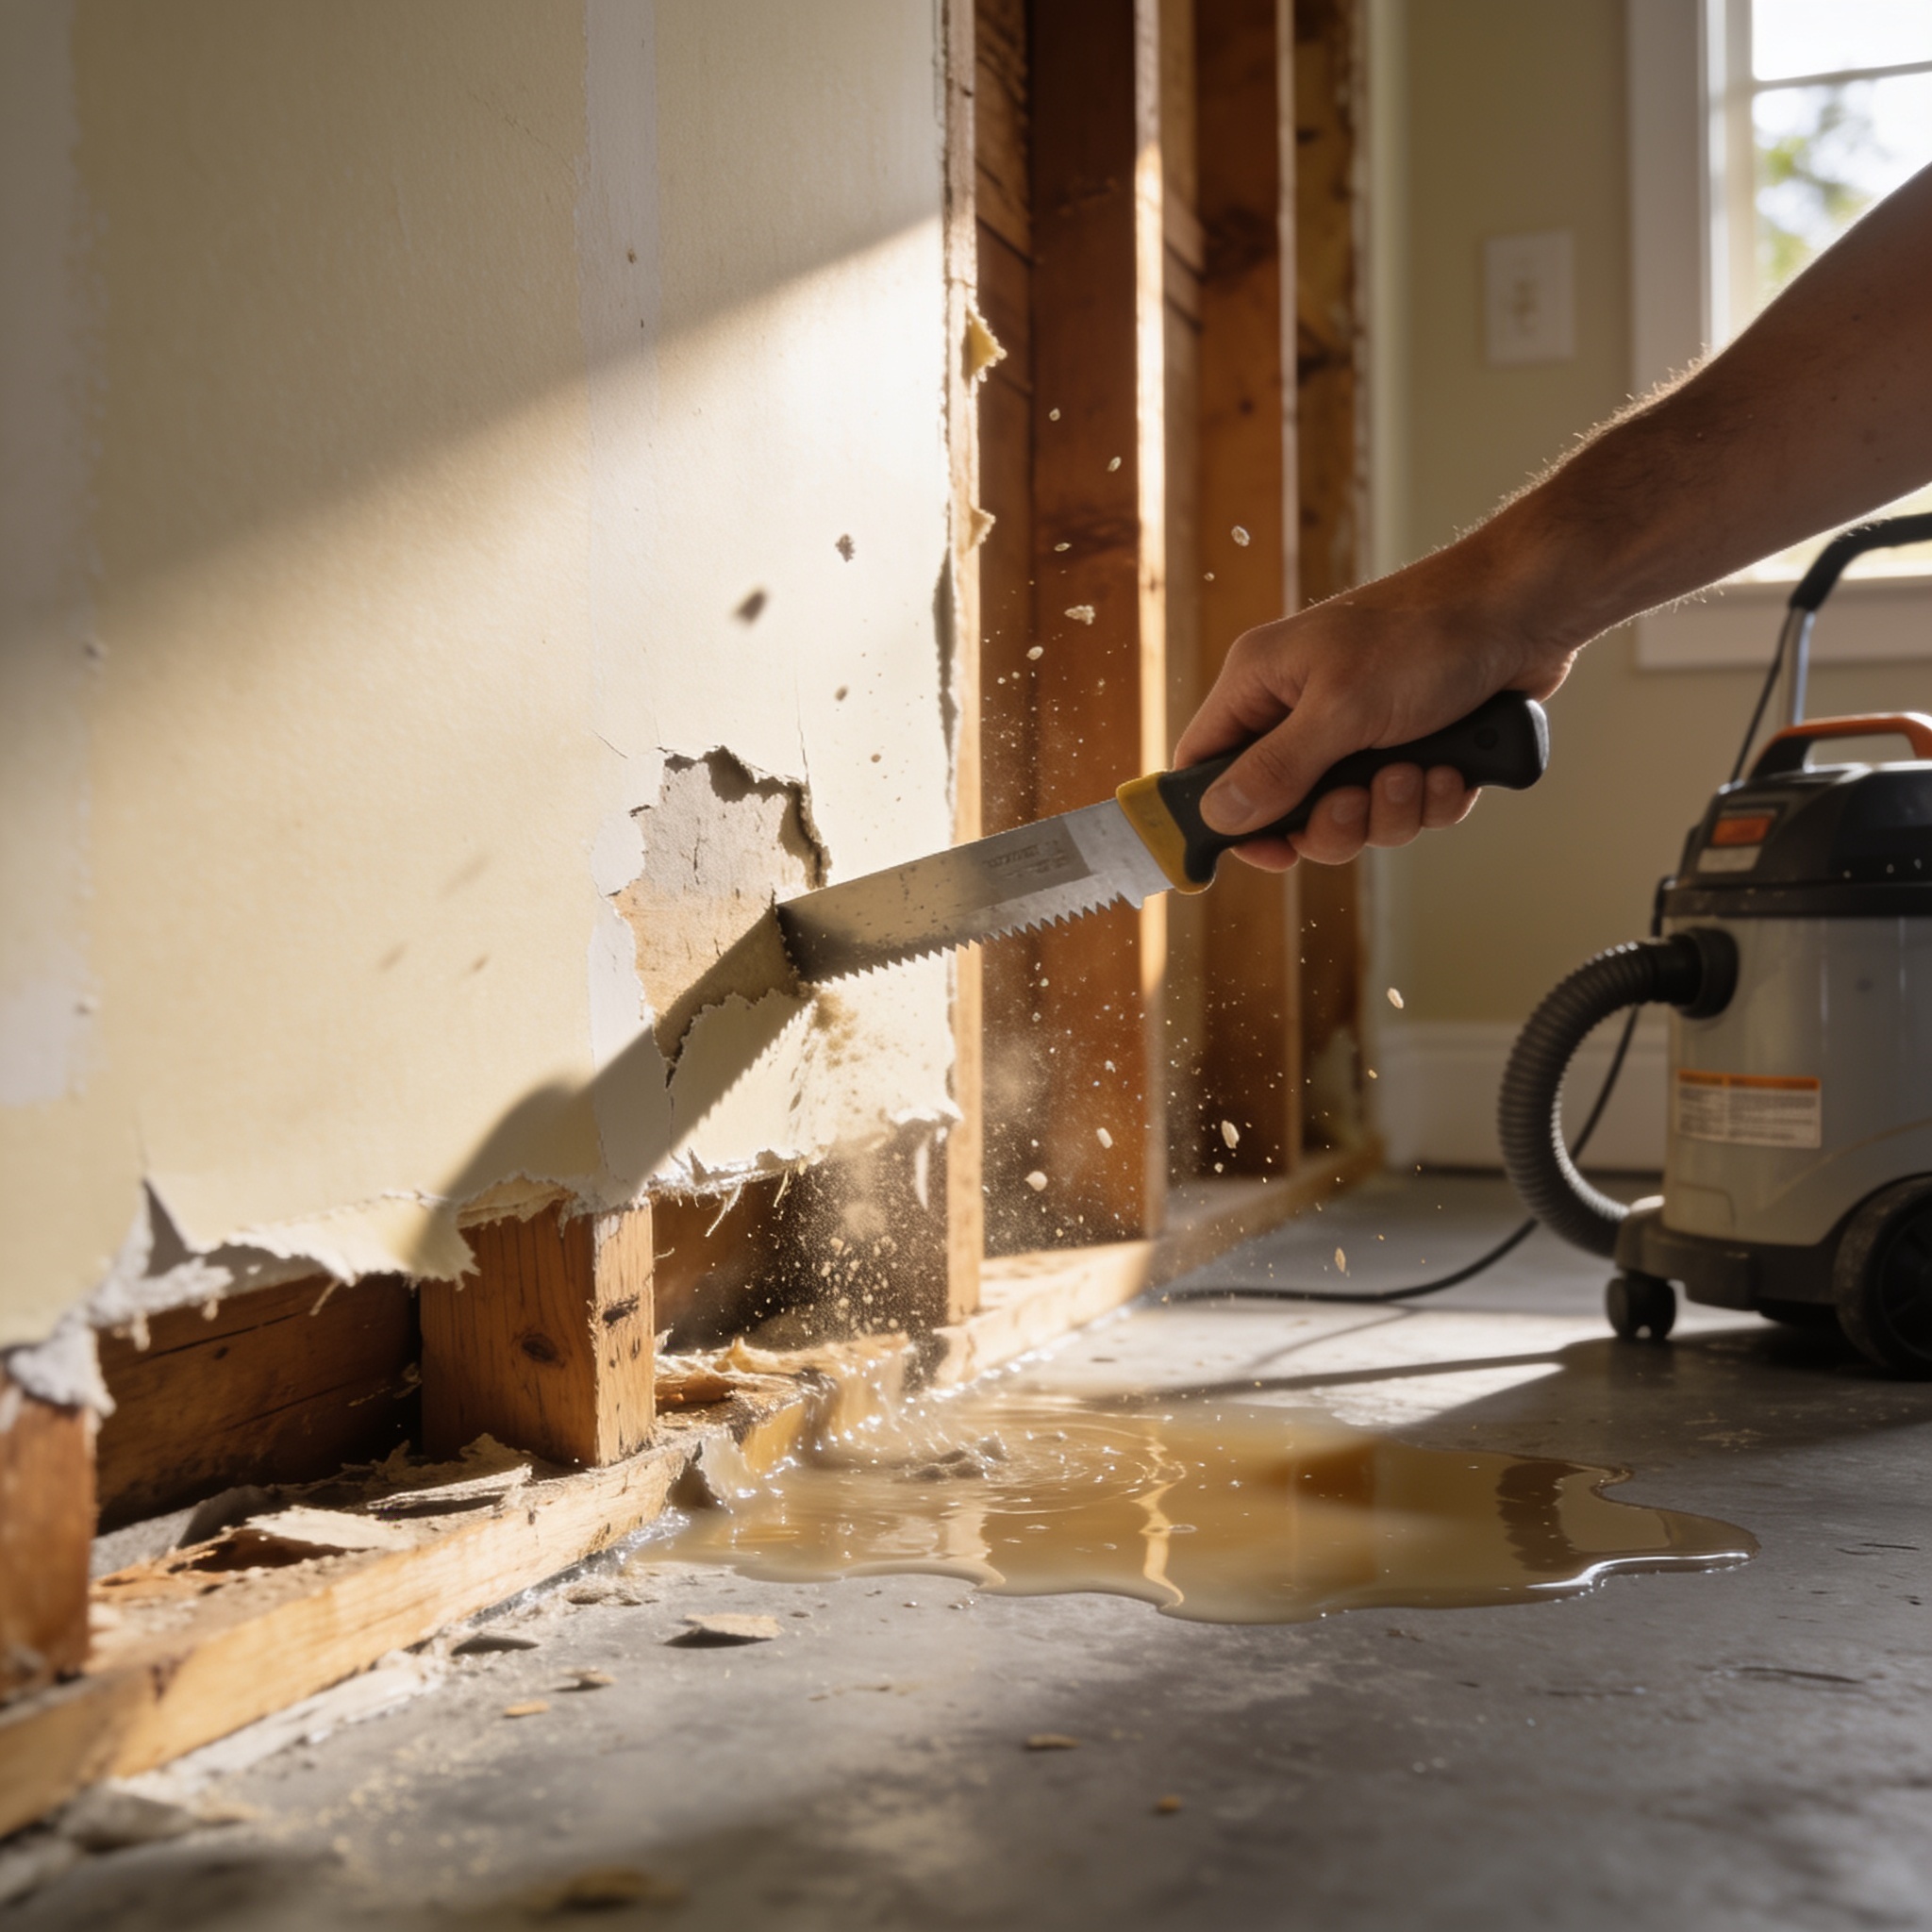
Key Takeaways
- Flood cuts are essential for removing water-logged materials that cannot be dried effectively.
- Always wear appropriate personal protective equipment (PPE) to ensure safe work practices and avoid direct contact with contaminated floodwater.
- Removing drywall above the water line prevents mold spores from colonizing wall cavities.
- Local professionals like those at water damage restoration companies can help assess if your walls are structurally sound or require mitigation.
- Properly drying the remaining wall studs is just as important as the physical removal of the damaged material.
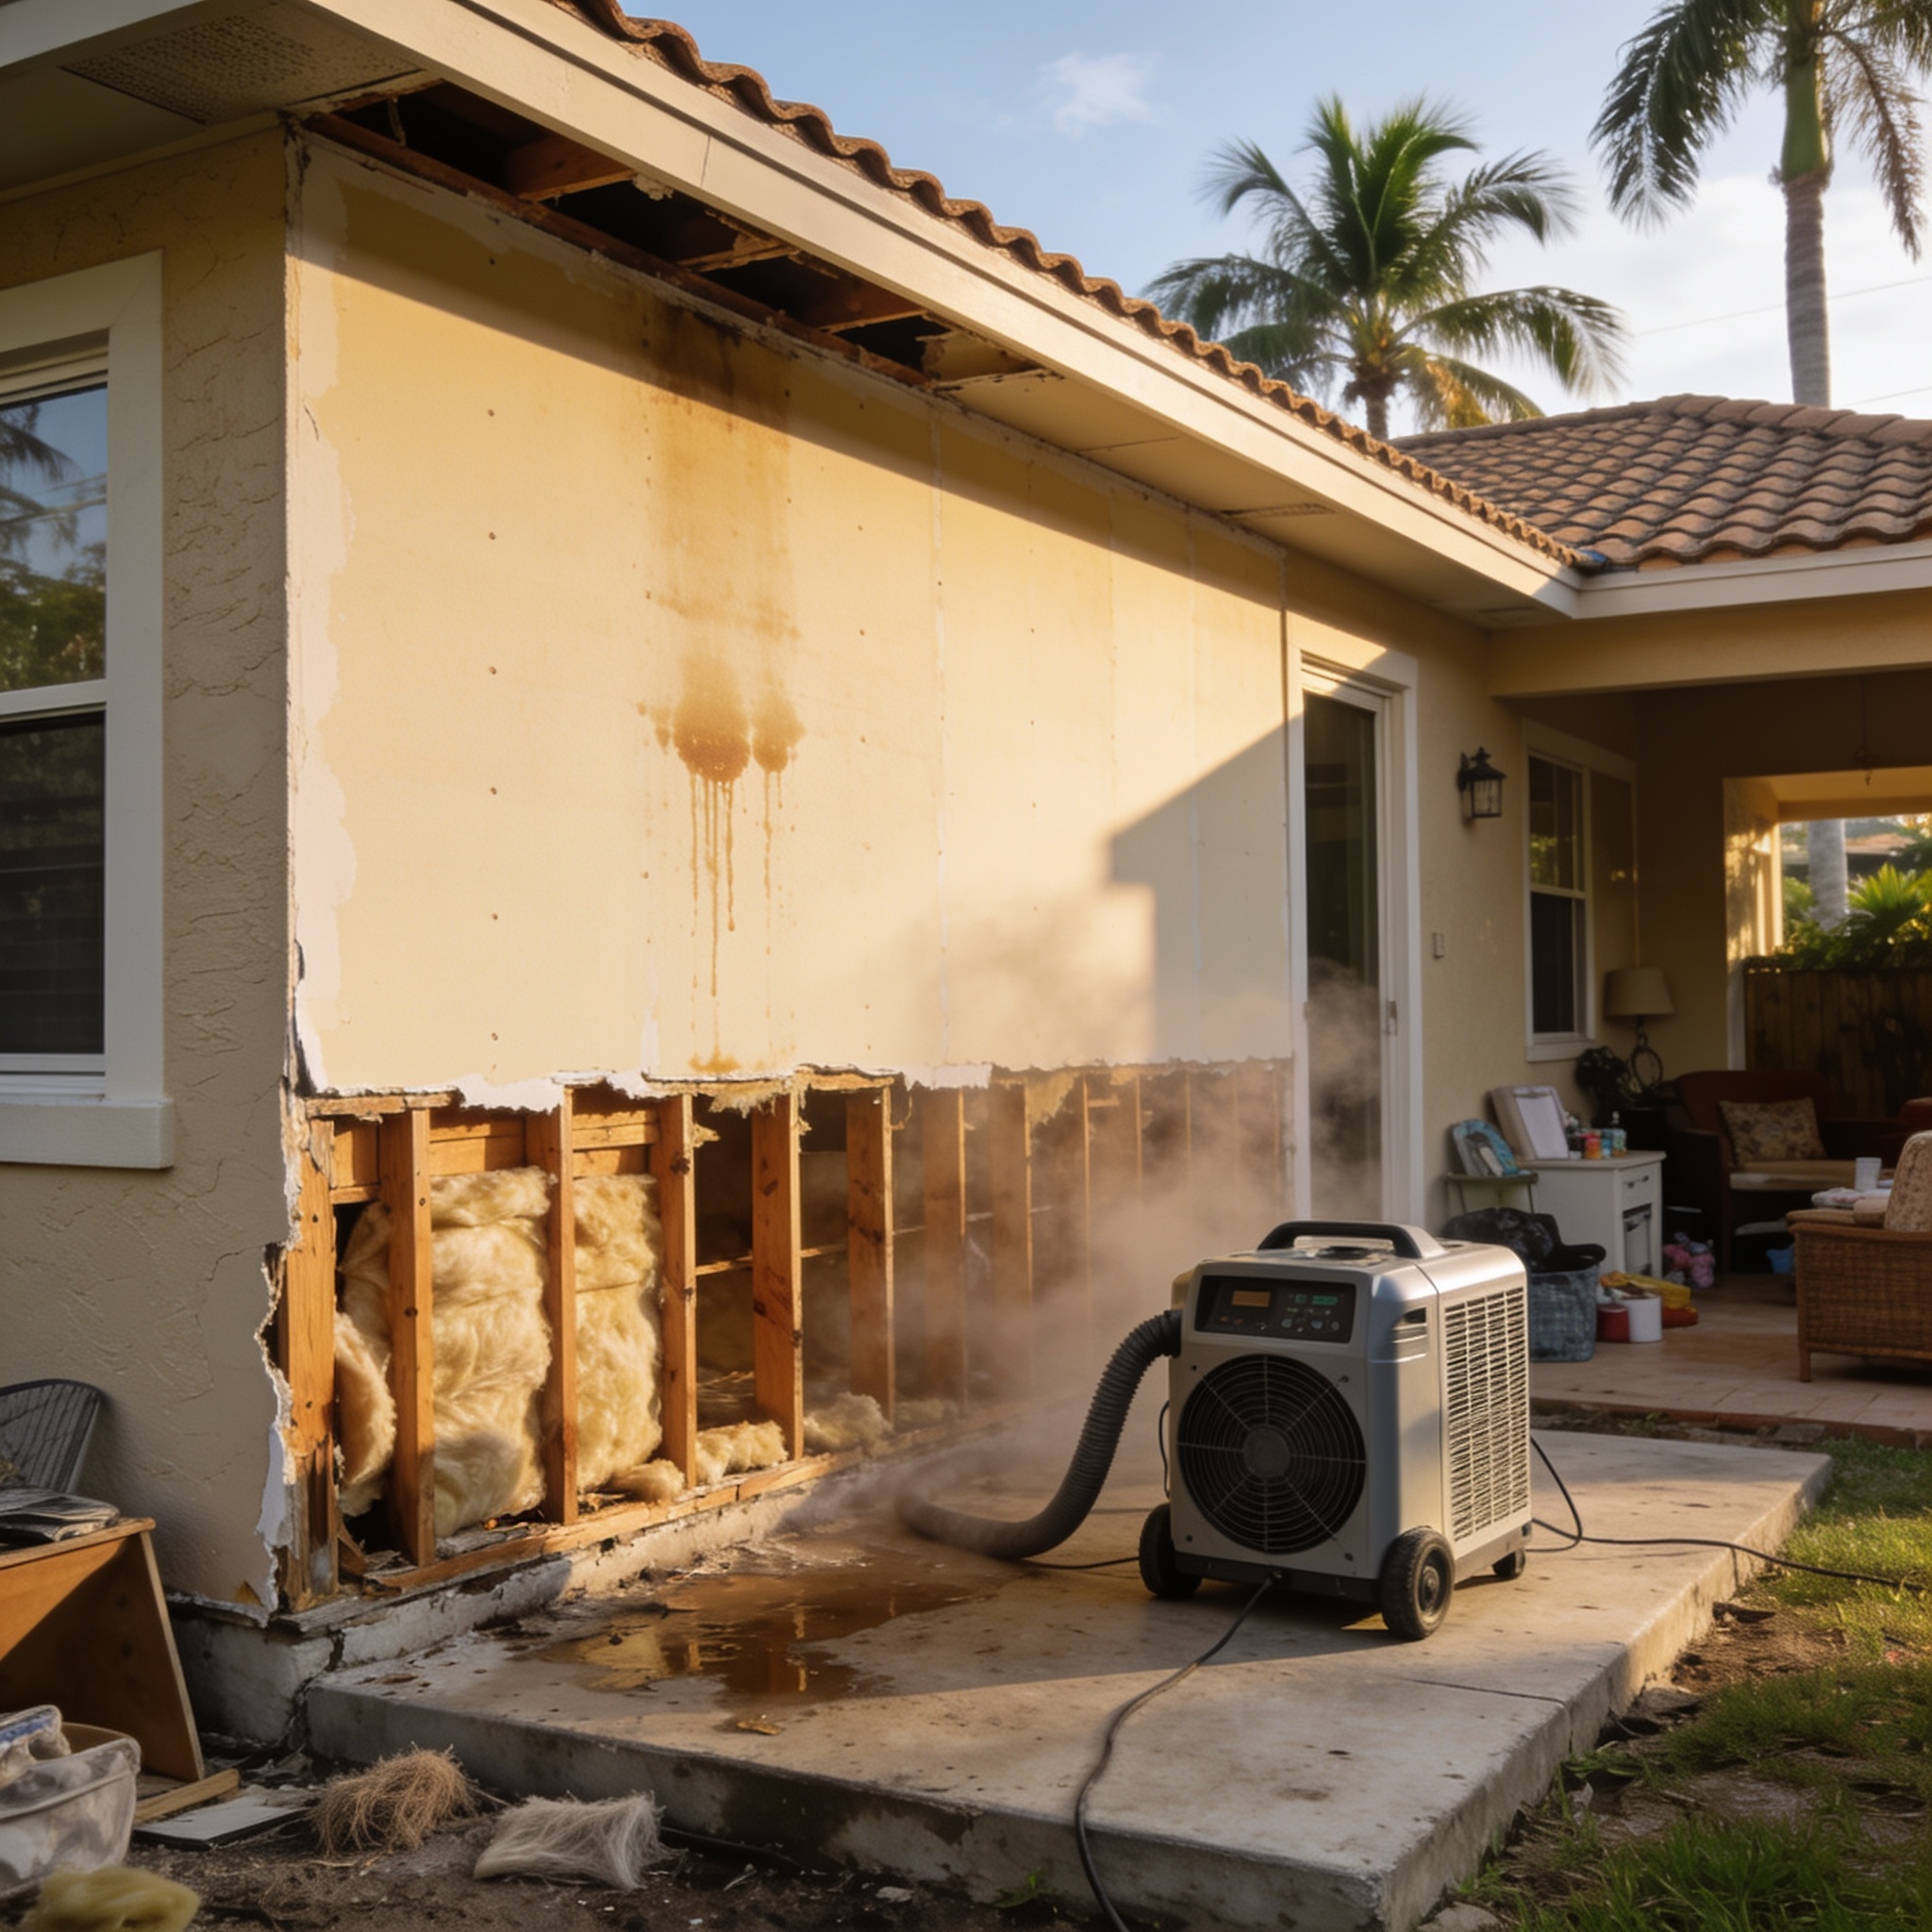
What is a flood cut and why is it used in water damage restoration?
A “flood cut” is a demolition technique involving the removal of the bottom of the drywall to expose the interior wall cavity for drying and remediation. In the humid climate of Lee and Collier counties, moisture trapped behind baseboards can lead to rapid decay if left unaddressed. Professionals use this method to ensure that hidden drywall, insulation, and wooden studs are completely dry before reconstruction begins. This process is a standard requirement for many insurance claims following a major storm event or plumbing failure, often requiring a full remove and replace strategy for the affected area. When assessing the damage, technicians check if moisture has managed to permeate the studs or if the damage is localized to the gypsum.
Why are flood cuts necessary for water-damaged drywall?
Flood cuts are necessary because sheetrock acts like a sponge, wicking moisture upward and creating an ideal environment for mold growth behind the wall surface. Even if the surface of the drywall appears dry after a flood, the paper backing and internal gypsum core often remain saturated. If this wet material remains, it can compromise the structural integrity of your home and pose significant health risks. According to the EPA, rapid removal of porous materials is the most effective way to stop mold colonization in indoor environments. Furthermore, if your home was built before 1980, you must test for asbestos before cutting, as disturbing these materials requires specialized containment procedures.
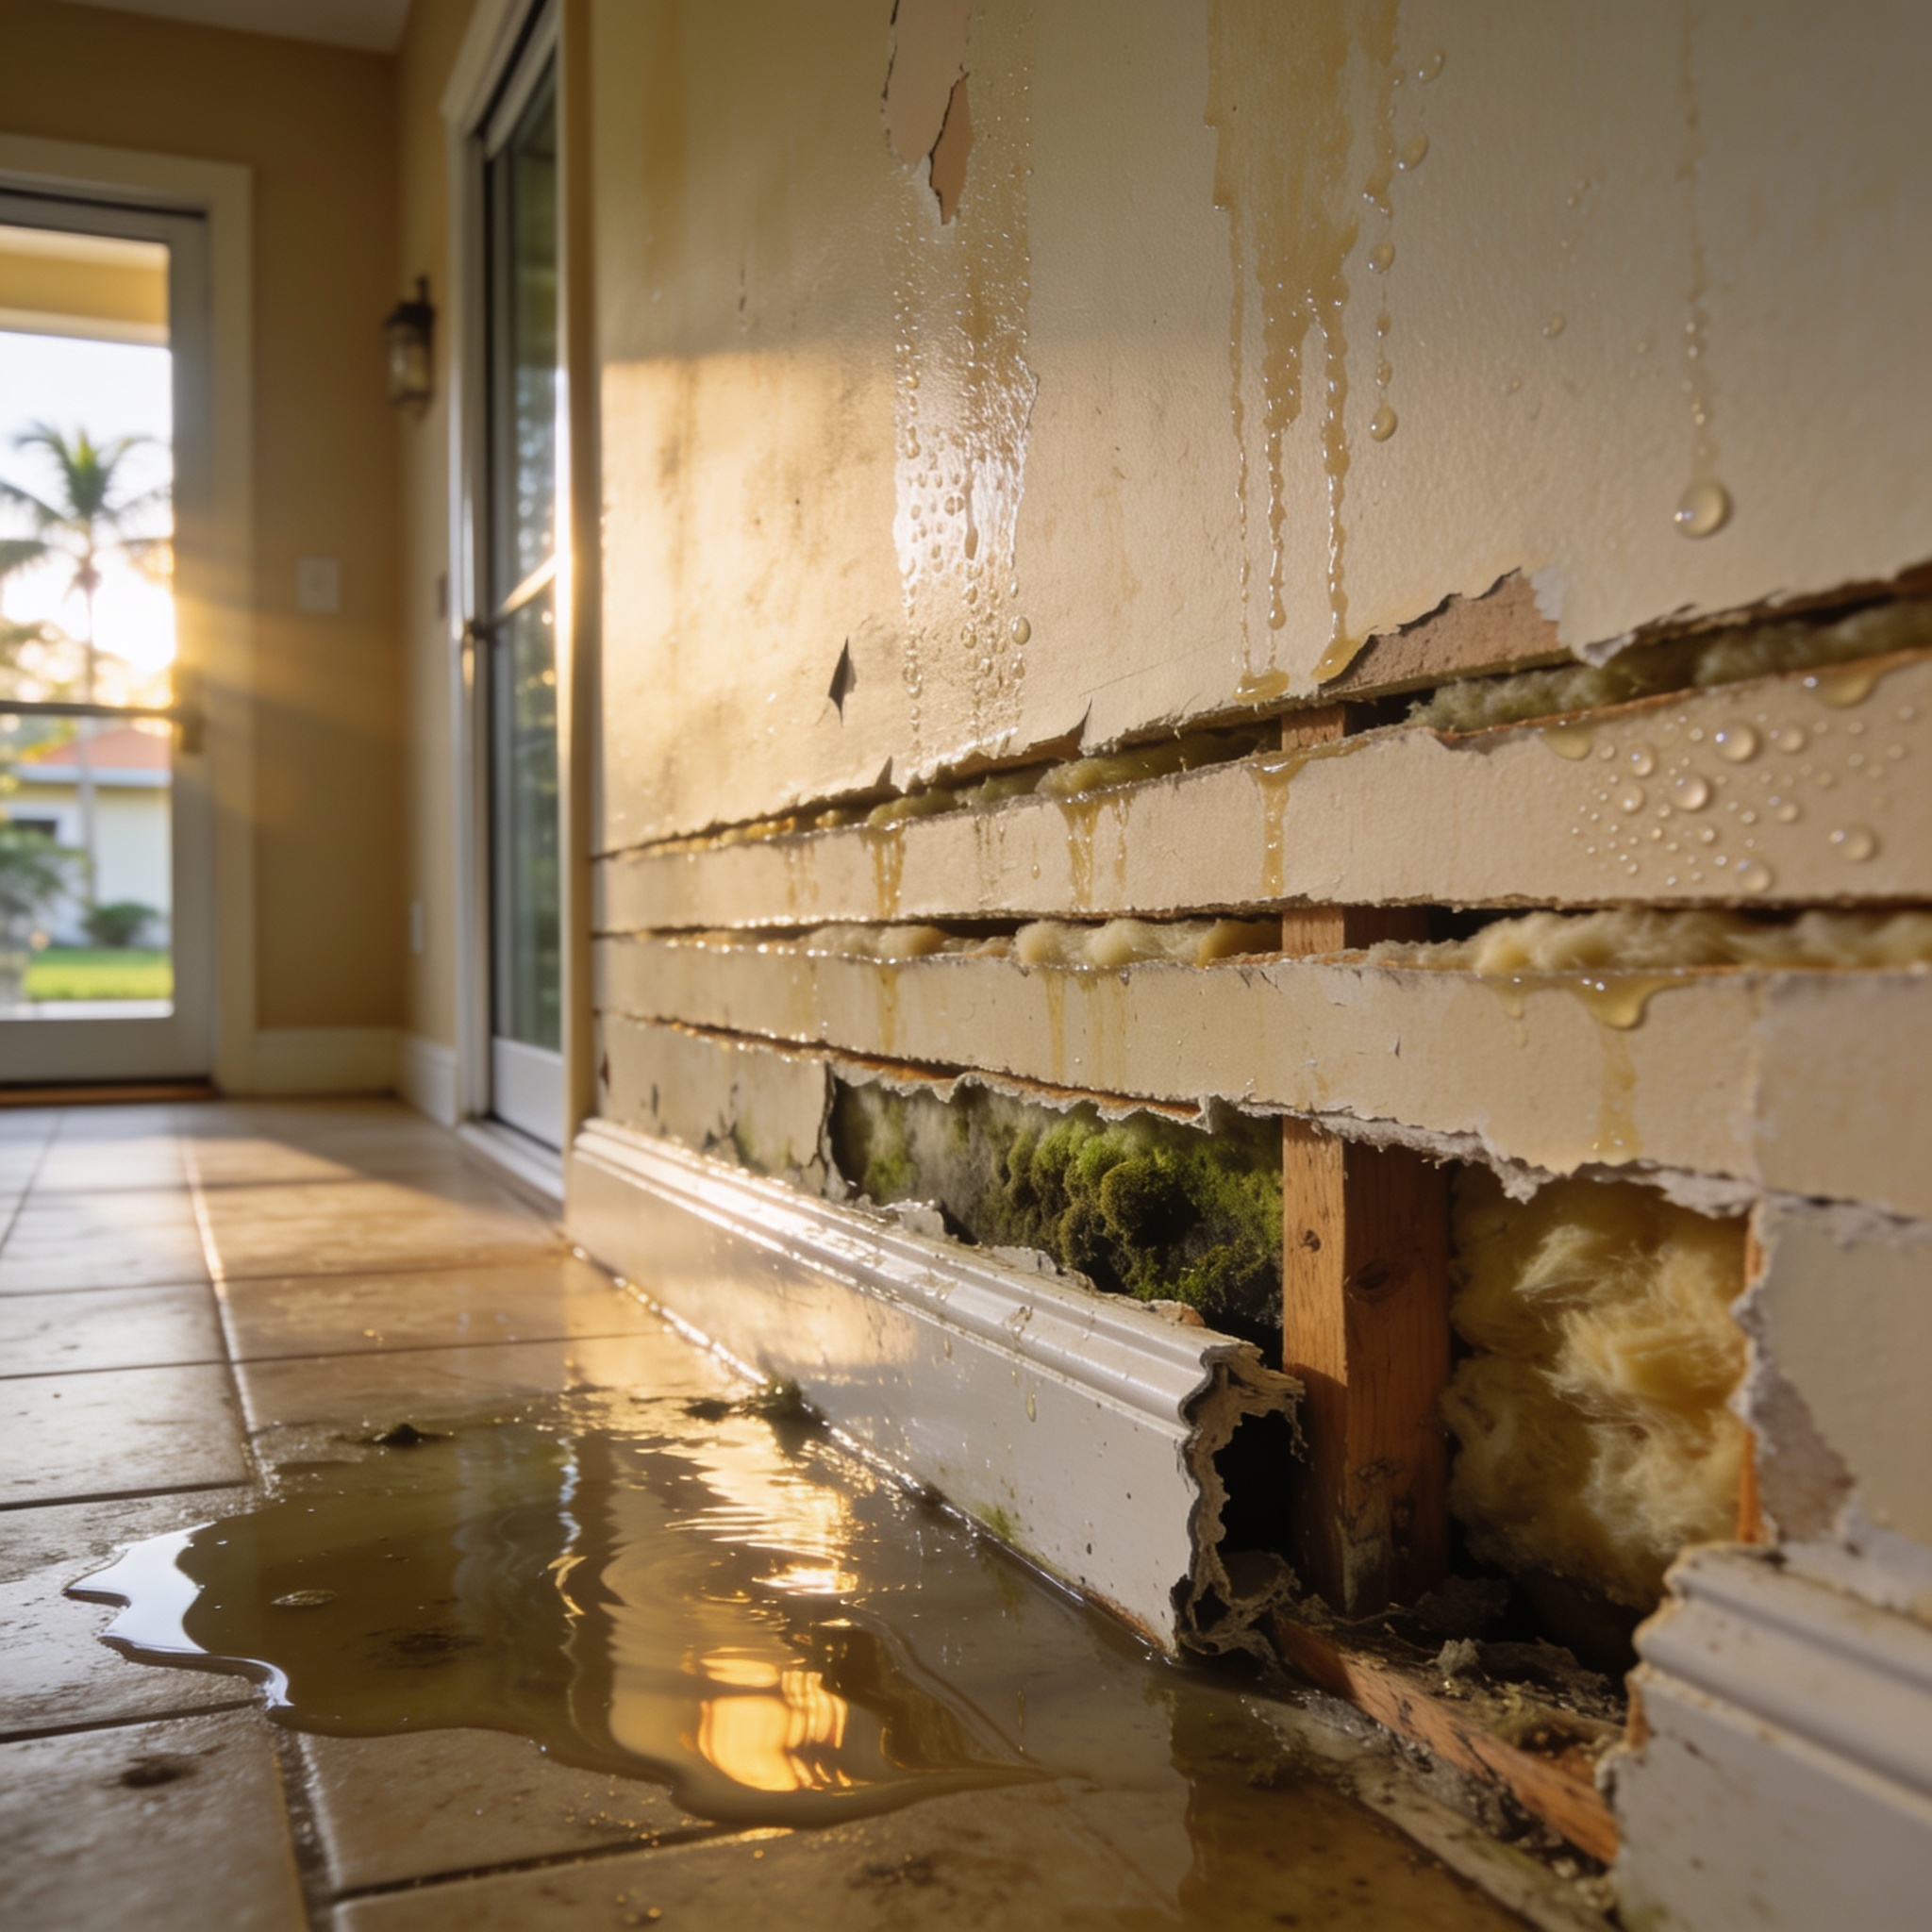
How can you tell if water-damaged drywall needs to be replaced or can be saved?
Drywall that has been in contact with category 3 floodwater or has remained wet for more than 48 hours must be removed and replaced. You can often identify compromised areas by looking for soft spots, crumbling edges, or a persistent musty odor. If you are dealing with a property in a flood zone, consult with experts in Water Damage Restoration in Sanibel, FL to determine if the moisture levels are within acceptable limits. If the material shows signs of warping or sagging, it has lost its structural integrity and cannot be salvaged; however, if the material is undamaged and moisture levels are low, it may be saved.
How high should you cut drywall after a flood?
You should perform a flood cut by removing affected drywall approximately 12-24 inches above the highest visible waterline. This buffer zone ensures that you have cleared all wicking moisture and allows for better airflow into the wall cavity. In cases of severe flooding, such as when there are several inches of water in the home, professionals often remove up to two feet of material to ensure all affected insulation is cleared. Always check for electrical wiring or an outlet box before making your cut to avoid damaging hidden utilities. In some instances, if water has reached the ceiling, you may need to remove up to 8 feet of material, or even a full sheet spanning 4 feet in width, to ensure the entire wall cavity is addressed.
How do you perform a flood cut on drywall step by step?
The 5-step water restoration process begins with safety and ends with the preparation of the cavity for professional drying. Follow these steps to ensure a compliant and safe removal:
- Step 1: Wear proper personal protective equipment, including an N95 respirator, gloves, and goggles, to protect against mold spores and contaminants.
- Step 2: Remove baseboards and trim using a pry bar to expose the bottom edge of the wall.
- Step 3: Use a utility knife or drywall saw to mark and cut along a horizontal line at the required height above the waterline.
- Step 4: Carefully cut the sheet and pull the damaged drywall away from the studs, ensuring you remove all wet insulation from the cavity.
- Step 5: Clean the remaining wall studs and floor plate, then set up a dehumidifier and high-velocity fans to initiate the drying process.
How do you perfectly cut drywall to get clean, straight lines?
Using a laser level or a chalk line allows you to mark a precise horizontal cut line that makes future repairs significantly easier. Instead of guessing, use an oscillating multi-tool to make a clean, straight cut through the sheetrock and paper. This precision ensures that the new sheet of drywall will fit perfectly against the existing wall without requiring excessive taping or joint compound. For those seeking professional results in Charlotte County, contacting water damage restoration punta gorda experts can ensure the demolition is handled with precision. When working on exterior walls, be mindful of insulation types and ensure that any ductwork running through the cavity is inspected for moisture accumulation.
How do you repair drywall after a flood cut is complete?
Repairing drywall after a flood cut requires installing new sheets of drywall, applying paper tape, and finishing with multiple coats of joint compound. Before closing the wall, ensure the studs are completely dry and treated with a stain-blocking primer to prevent future mold growth. Once the new drywall is secured to the studs, apply the tape and mud, sanding between coats to match the existing wall texture. If you encounter plaster walls, the reinstallation process may require specialized lath and plaster repair techniques. Always verify that the wall cavity is free of moisture before sealing it back up to prevent recurring issues.
Should you DIY a flood cut or hire a professional for water-damaged drywall?
Hiring a professional is highly recommended if the floodwater was contaminated, as they have the specialized equipment and training to prevent cross-contamination. While small, clean-water leaks might be manageable for a DIYer, standing water often contains sewage or hazardous chemicals that require professional remediation. Professionals follow IICRC standards to ensure that the drying process is documented for insurance purposes. Attempting a large-scale demolition without proper containment can spread mold spores throughout your entire home. Professionals may also utilize a sump pump to remove standing water from crawlspaces before beginning the demolition.
Frequently asked questions
Below are common concerns regarding the restoration of water-damaged properties in Florida.
Is it safe to keep drywall that only got wet at the very bottom?
No, drywall that has been saturated must be removed because the paper backing provides a food source for mold that cannot be fully cleaned once it penetrates the gypsum core.
Do I need to remove the insulation behind the drywall?
Yes, all wet insulation must be removed because it acts as a reservoir for moisture and is impossible to dry effectively once it has been submerged.
How long does it take for mold to grow on wet drywall?
Mold growth can begin in as little as 24 to 48 hours in the high-humidity environment typical of Southwest Florida.
Can I use a regular saw to cut drywall?
While a drywall saw is designed for the job, an oscillating multi-tool is the preferred professional choice for making clean, controlled cuts without damaging hidden electrical lines.
Mold Growth and Prevention
How do professional drying techniques prevent mold growth?
Professionals utilize industrial dehumidifiers and air conditioning systems to lower the relative humidity, which is essential to prevent mold growth. By maintaining a controlled environment, they ensure the vapor barrier and wall cavities are thoroughly dried to stop secondary damage. They often use moisture meters to identify the highest point of saturation to ensure no hidden pockets of water remain.
Structural Integrity
Why is a 2 feet cut important for structural integrity?
Removing at least 2 feet of damaged material ensures that the wall cavity is fully exposed, allowing for the inspection of the studs’ structural integrity. This prevents long-term rot and ensures the rebuild is performed on a sound, dry foundation. By removing several feet of drywall, you can also inspect the bottom plates for signs of wood rot or insect infestation.
| Action | Standard Practice |
|---|---|
| Cut Height | 12-24 inches above waterline |
| PPE Required | N95 Mask, Gloves, Goggles |
| Drying Time | 3-7 days with dehumidifiers |
| Tool Choice | Oscillating multi-tool for small holes and cuts |
| Standard Removal | Approximately 12-24 feet of drywall removed per room |
See also: water damage restoration companies
See also: Water Damage Restoration
See also: Water Damage Restoration
Our editorial team verifies licensing and reviews for every restoration company in the directory and writes practical, Florida-specific guides to help homeowners act fast and protect their insurance claims after water, fire, mold or storm damage.